



Eye makeup can be hard. Like, really hard. So hard, as a matter of fact, that sometimes it makes me wish I were back in grade school, painting with my fingers and coloring outside the lines.
Ah…good times. Wouldn’t it be wonderful if eye makeup could be that easy and simple? Well, today it is, because we’re time traveling back to kindergarten to connect the makeup dots.

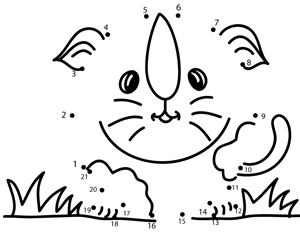 To be honest, I never really liked connect the dots. I’d always bring that giant book home with me, the one with the thin pages that ripped whenever I tried to erase on them, to find that someone else from class had already done at least one of them, and then my whole experience would be ruined. Gah!
But today, that’s not important. What is important are the skills we learned connecting those dots.
Let’s start with a question: have you ever tried to draw an even, gorgeous line with liquid eye liner but just weren’t able to do it? Well, it happens to me almost every time, so rather than trying to draw one continuous line across the entire lash line, let’s start by making small dots across it, with one right at the inner corner, a few along the way, and one directly at the outer corner (I usually make about 6-10 dots per eye, depending on the size of the person’s eyelid).
(You might even number your dots, and who knows? — maybe start a new couture trend.)
After letting the dots set for a few seconds, connect them, one by one, until you reach the outer corner. By almost sketching with a series of very small dashes that eventually coalesce into a single, solid line, you can reduce the impact of an unsteady hand, ensuring an even line, and maintain a consistent line width/thickness. Conversely, you have more control over where you want the line to begin thickening, if at all.


Now that we have our liner laid down on our lash line, we can even go beyond it. It’s easy to go wrong with a winged liner look that ends up pulling the eyes down. All it takes is not aiming the tail correctly or getting the line weight just right.
No worries. Grab a note card or other thick piece of paper because we’re going to use the straight edge as a guide.
Place the edge so that it touches the outer corner of one eye, and angle it so that it passes pretty much through the middle of the indent at your temple. For most people, this results in a very flattering placement that opens and widens the eyes. Now, draw your liner of choice along this edge, moving the tip in ever so slightly as you move along the edge, thus thinning and eventually bringing the line to a point (rather than a blunt end).
[Continue reading…]





 Twitter



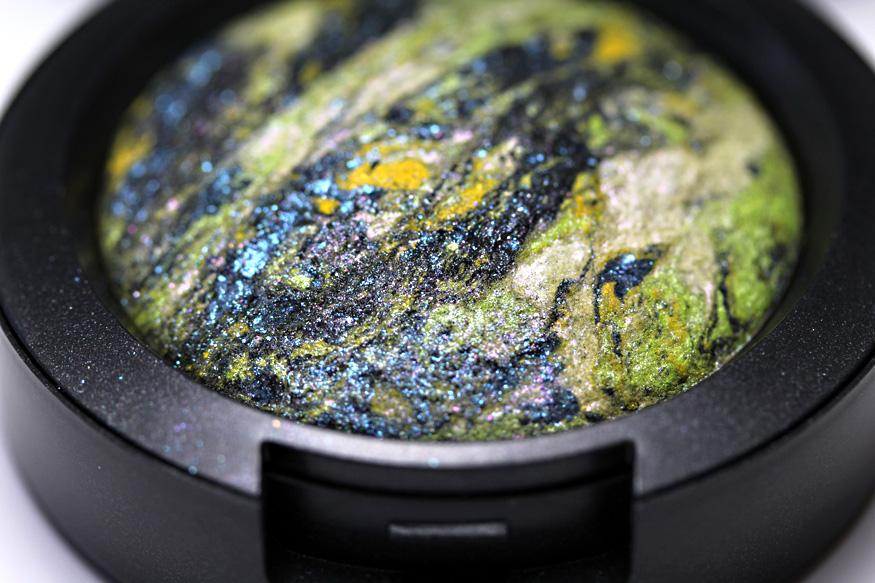




 Fall? Even though we’re barely a week into summer? Yes, ma’am. Many in the makeup world already have their sights set on the season of autumn leaves and pumpkin pie.


